If you have any questions that are beyond the scope of this help file, please feel free to contact us. Thanks so much!
- Created: 21 June 2015
- Author: Ar-themes
- Template Version: 1.0
- Credits:
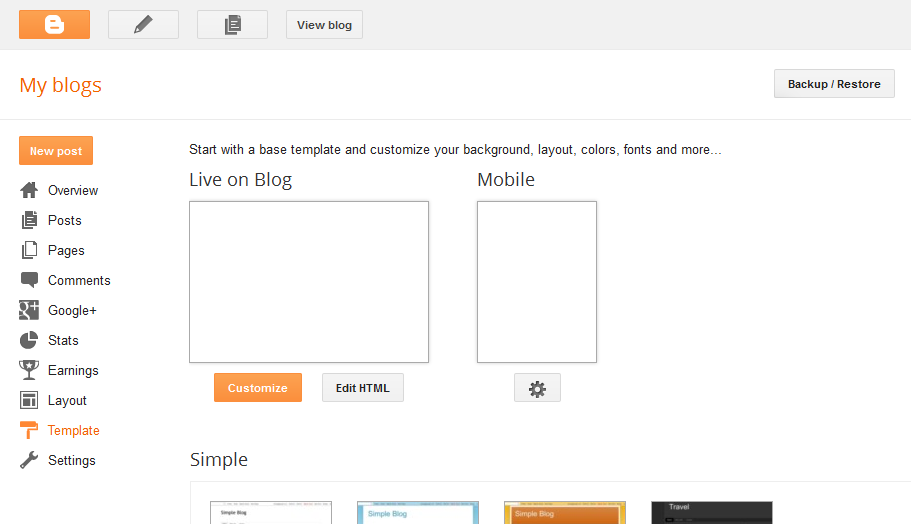
- Note :First of all you have to upload the template to your blog then disable mobile preview. To learn how ? please check the install.html page
- HTML Content
- 1. Top Navigation
- 2. Top Social Icons
- 3. Main Navigation
- 4. Posts Author
- 5. Pages Numbering
- 6. Error 404 Page
- 7. Footer Copyrights
- Widgets Content
- 1. Template Layout
- 2. Recent Posts Widget
- 3. Horizontal Posts Widget
- 3. Vertical Posts Widget
- 5. Small Thumbs Posts Widget
- 6. Large Posts Widget
- 7. Template Designer
- Posts & Pages Style
HTML Content
-- How To edit ?- On Blogger Dashbord Click Template
- Click Edit HTML
1. Top Navigation
 Click Ctrl + F on your keyboard and search for the following code
<div id='top-nav'>
  <ul class='menu'>
    <li><a href='/'>Home</a></li>
    <li><a href='#'>Privacy</a></li>
    <li><a href='#'>Menu 1</a>
      <ul>
        <li><a href='#'>Sub Menu 1</a></li>
        <li><a href='#'>Sub Menu 2</a></li>
        <li><a href='#'>Sub Menu With Subs</a>
          <ul>
            <li><a href='#'>Sub Sub Menu 1</a></li>
            <li><a href='#'>Sub Sub Menu 2</a></li>
            <li><a href='#'>Sub Sub Menu 3</a></li>
          </ul>
        </li>
        <li><a href='#'>Sub Menu 3</a></li>
      </ul>
    </li>
    <li><a href='#'>FAQs</a></li>
    <li><a href='#'>Contact</a></li>
    <li><a href='#'>Menu 2</a>
      <ul>
        <li><a href='#'>Sub Menu 1</a></li>
        <li><a href='#'>Sub Menu 2</a></li>
        <li><a href='#'>Sub Menu 3</a></li>
      </ul>
    </li>
  </ul>
</div><!-- top-nav Ends! -->
Change # inside href='#' with your URL linksClick Save template
2. Top Social Icons
 Click Ctrl + F on your keyboard and search for the following code
<div class='top-soc'>
  <a class='ic1' href='#' rel='nofollow' target='_blank' title='Facebook'><i class='fa fa-facebook'/></a>
  <a class='ic2' href='#' rel='nofollow' target='_blank' title='Twitter'><i class='fa fa-twitter'/></a>
  <a class='ic3' href='#' rel='nofollow' target='_blank' title='Google Plus'><i class='fa fa-google-plus'/></a>
  <a class='ic4' href='#' rel='nofollow' target='_blank' title='Linkedin'><i class='fa fa-linkedin'/></a>
  <a class='ic5' href='#' rel='nofollow' target='_blank' title='Vimeo'><i class='fa fa-vimeo-square'/></a>
  <a class='ic6' href='#' rel='nofollow' target='_blank' title='Youtube'><i class='fa fa-youtube'/></a>
  <a class='ic7' href='#' rel='nofollow' target='_blank' title='Rss Feed'><i class='fa fa-rss'/></a>
  <a class='se' href='#' rel='nofollow' title='Search'><i class='fa fa-search'/></a>
</div><!-- top-soc Ends! -->
Change
# inside href='#' with your social URL linksYou don't need to change
# inside <a class='se' href='#' rel='nofollow' title='Search'><i class='fa fa-search'/></a>Click Save template
3. Main Navigation

Click Ctrl + F on your keyboard and search for the following code
<div id='nav-3'>
  <ul class='menu'>
    <li><a href='#'>Home</a></li>
    <li><a href='#'>Static Pages</a>
      <ul>
        <li><a href='#'>Default Static Page</a></li>
        <li><a href='#'>Page With Left Sidebar</a></li>
        <li><a href='#l'>Page Without Sidebar</a></li>
      </ul>
    </li>
    <li><a href='#'>Blog Posts</a>
      <ul>
        <li><a href='#'>Default Blog Post</a></li>
        <li><a href='#'>Post With Left Sidebar</a></li>
        <li><a href='#'>Post Without Sidebar</a></li>
      </ul>
    </li>
    <li><a href='#'>Menu with Subs</a>
      <ul>
        <li><a href='#'>Free Games</a></li>
        <li><a href='#'>Celebrities</a></li>
        <li><a href='#'>Sub Menu With Subs</a>
          <ul>
            <li><a href='#'>Life Stories</a></li>
            <li><a href='#'>Live Films</a></li>
            <li><a href='#'>Natural Photos</a></li>
          </ul>
        </li>
        <li><a href='#'>Planes In Sky</a></li>
      </ul>
    </li>
    <li><a href='#'>Blog Archive</a></li>
    <li><a href='#'>October Archive</a></li>
    <li><a href='#'>Design Label</a></li>
    <li><a href='#'>Error 404</a></li>
  </ul>
</div><!-- nav-3 Ends! -->
Change # inside href='#' with your URL linksClick Save template
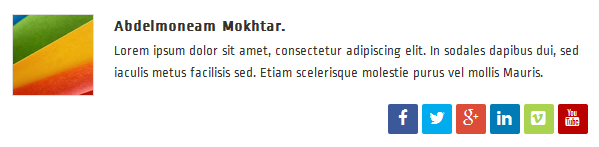
4. Posts Author
Click Ctrl + F on your keyboard and search for the following code
<div class='p-author'>
  <script class='java' expr:src='"/feeds/posts/default/" + data:post.id + "?alt=json-in-script&callback=postauthor"' type='text/javascript'/>
  <p>
    Lorem ipsum dolor sit amet, consectetur adipiscing elit. In sodales dapibus dui, sed iaculis metus facilisis sed. Etiam scelerisque molestie purus vel mollis Mauris.
  </p>
  <div class='top-soc'>
    <a class='ic1' href='#' rel='nofollow' target='_blank' title='Facebook'><i class='fa fa-facebook'/></a>
    <a class='ic2' href='#' rel='nofollow' target='_blank' title='Twitter'><i class='fa fa-twitter'/></a>
    <a class='ic3' href='#' rel='nofollow' target='_blank' title='Google Plus'><i class='fa fa-google-plus'/></a>
    <a class='ic4' href='#' rel='nofollow' target='_blank' title='Linkedin'><i class='fa fa-linkedin'/></a>
    <a class='ic5' href='#' rel='nofollow' target='_blank' title='Vimeo'><i class='fa fa-vimeo-square'/></a>
    <a class='ic6' href='#' rel='nofollow' target='_blank' title='Youtube'><i class='fa fa-youtube'/></a>
  </div>
</div><!-- Post Author Ends! -->
Post author Image and Name is generated automatically, You don't need to worry about itChange author description to your desired words
Change
# inside href='#' with your social URL linksClick Save template
5. Pages Numbering
 Click Ctrl + F on your keyboard and search for the following code
var perPage= 18;                   // Number of Posts in Each Page
var numPages= 5;                   // Numbers of Pages Shown
var prevText= '«';                 // Previuos Text
var nextText= '»';                 // Next Text
You change Number
18 inside var perPage= 18; to set the number of posts in pageYou change Number
5 inside var numPages= 5; to set the number of pages linksYou change Shape
« inside var prevText= '«'; to set the text of next pageYou change Shape
»5 inside var nextText= '»'; to set the text of previous pageClick Save template
6. Error 404 Page
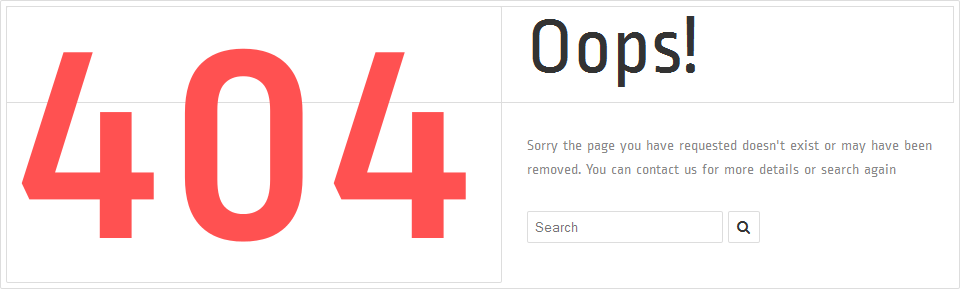
Error Page is already integrated witht the template so you don't need to do anything
But you still can access the
HTML code and edit it if you would like toClick Ctrl + F on your keyboard and search for the following code
<div id='error-page'>

  <span class='left' id='foutext'>404</span>

  <span id='opstext'>Oops!</span>

  <span id='errtext'>
	Sorry the page you have requested doesn't exist or may have been removed. You can contact us for more details or search again
  </span>

  <form action='/search' id='s-form'>
	<input id='s-bar' name='q' placeholder='Search' type='text'/>
	<span id='s-but'><i class='fa fa-search'/></span>
  </form>

  <div class='clear'/>

</div><!-- Error Page Ends! -->
After Editing don't forget to click Save template
7. Footer Copyrights

You don't need to edit it, as it automatically shows up your blog title and link
But you still can access the
HTML code and edit it if you would like toClick Ctrl + F on your keyboard and search for the following code
<div id='f-credits'> <span class='left'>All Rights Resreved 2015 © <a href='/'><data:blog.title/></a></span> <span class='right'>Powered By <a href='http://www.blogger.com' rel='nofollow' target='_blank'>Blogger</a></span> </div><!-- f-credits Ends! -->After Editing don't forget to click Save template
Wdigets Content
-- How To edit ?- On Blogger Dashbord Click Layout
- Add, Edit or Remove any Gadget
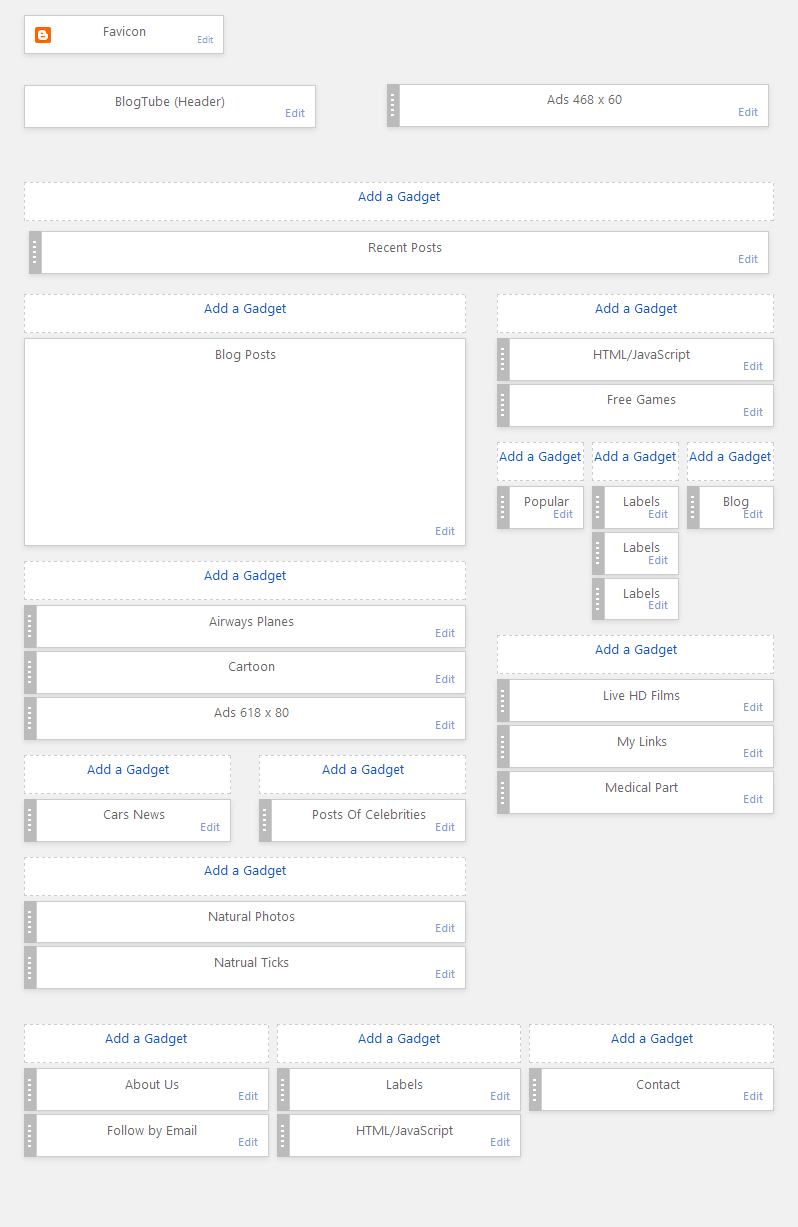
1. Template Layout
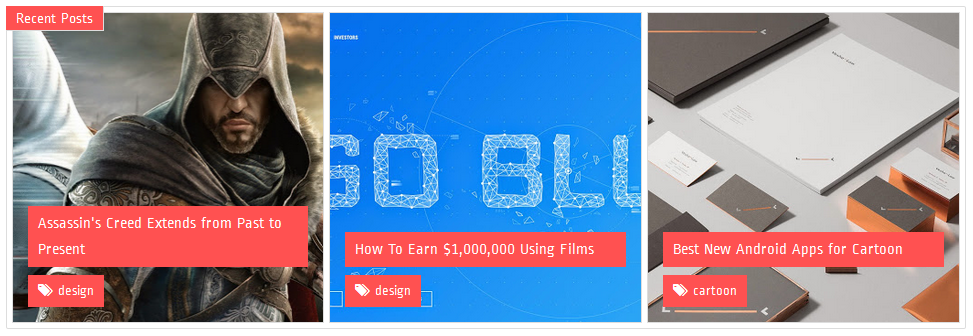
2. Recent Posts Widget
Click Add a Gadget and choose HTML/JavaScript widget

Copy the following code and Paste it inside the gadget
<script class="java" type="text/javascript">
var widgetclass = "recentposts";
var numposts = 3;
var thumbsize = "s340-p";
var iconname = "link";
</script>
<script class="java" type="text/javascript" src="/feeds/posts/default?alt=json-in-script&callback=carouselposts"></script>
| Option | Feature | Editing |
widgetclass = "recentposts" | Type of labeld posts style | Don't Edit |
numposts = 3 | Number of posts shown. You can change the number 3 to your desired number | Can Edit |
thumbsize = "s340-p" | Thumbnail images size depending on Blogger hosting features | Don't Edit |
iconname = "link" | Name of FontAwesome icon link. You can change it with any other icon name. Here is the full set of FontAwesome 4.3.0http://fortawesome.github.io/Font-Awesome/icons/ | Can Edit |
Click Save
3. Horizontal Posts Widget
Click Add a Gadget and choose HTML/JavaScript widget
Copy the following code and Paste it inside the gadget
<script class="java" type="text/javascript">
var widgetclass = "horizontalthumbs";
var numposts = 5;
var thumbsize = "s75-p";
var iconname = "paper-plane-o";
</script>
<script class="java" type="text/javascript" src="/feeds/posts/default/-/label_name?alt=json-in-script&callback=carouselposts"></script>
| Option | Feature | Editing |
widgetclass = "horizontalthumbs" | Type of labeld posts style | Don't Edit |
numposts = 5 | Number of posts shown. You can change the number 5 to your desired number | Can Edit |
thumbsize = "s75-p" | Thumbnail images size depending on Blogger hosting features | Don't Edit |
iconname = "paper-plane-o" | Name of FontAwesome icon paper-plane-o. You can change it with any other icon name. Here is the full set of FontAwesome 4.3.0http://fortawesome.github.io/Font-Awesome/icons/ | Can Edit |
label_name | Change it with your desired label name | Can Edit |
Click Save
4. Vertical Posts Widget
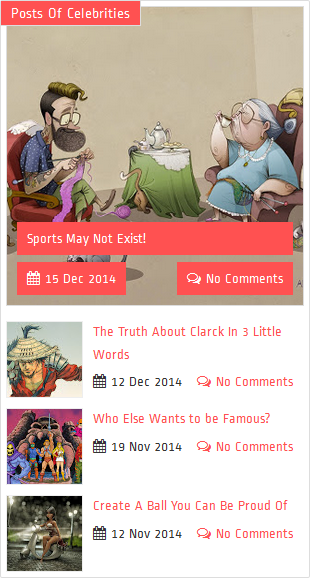
Click Add a Gadget and choose HTML/JavaScript widget
Copy the following code and Paste it inside the gadget
<script class="java" type="text/javascript">
var widgetclass = "verticalthumbs";
var numposts = 4;
var thumbsize = "s75-p";
var iconname = "diamond";
</script>
<script class="java" type="text/javascript" src="/feeds/posts/default/-/label_name?alt=json-in-script&callback=carouselposts"></script>
| Option | Feature | Editing |
widgetclass = "verticalthumbs" | Type of labeld posts style | Don't Edit |
numposts = 4 | Number of posts shown. You can change the number 4 to your desired number | Can Edit |
thumbsize = "s75-p" | Thumbnail images size depending on Blogger hosting features | Don't Edit |
iconname = "diamond" | Name of FontAwesome icon diamond. You can change it with any other icon name. Here is the full set of FontAwesome 4.3.0http://fortawesome.github.io/Font-Awesome/icons/ | Can Edit |
label_name | Change it with your desired label name | Can Edit |
Click Save
5. Small Thumbs Posts Widget
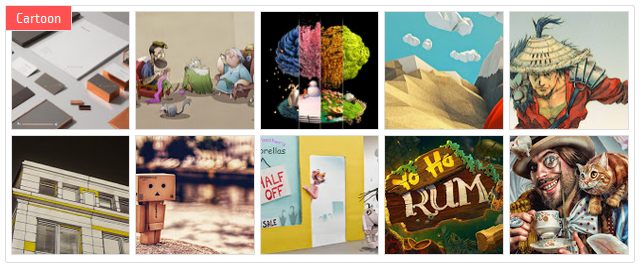
Click Add a Gadget and choose HTML/JavaScript widget
Copy the following code and Paste it inside the gadget
<script class="java" type="text/javascript">
var widgetclass = "smallthumbs";
var numposts = 10;
var thumbsize = "s125-p";
var iconname = "paw";
</script>
<script class="java" type="text/javascript" src="/feeds/posts/default/-/label_name?alt=json-in-script&callback=carouselposts"></script>
| Option | Feature | Editing |
widgetclass = "smallthumbs" | Type of labeld posts style | Don't Edit |
numposts = 10 | Number of posts shown. You can change the number 10 to your desired number | Can Edit |
thumbsize = "s125-p" | Thumbnail images size depending on Blogger hosting features | Don't Edit |
iconname = "paw" | Name of FontAwesome icon paw. You can change it with any other icon name. Here is the full set of FontAwesome 4.3.0http://fortawesome.github.io/Font-Awesome/icons/ | Can Edit |
label_name | Change it with your desired label name | Can Edit |
Click Save
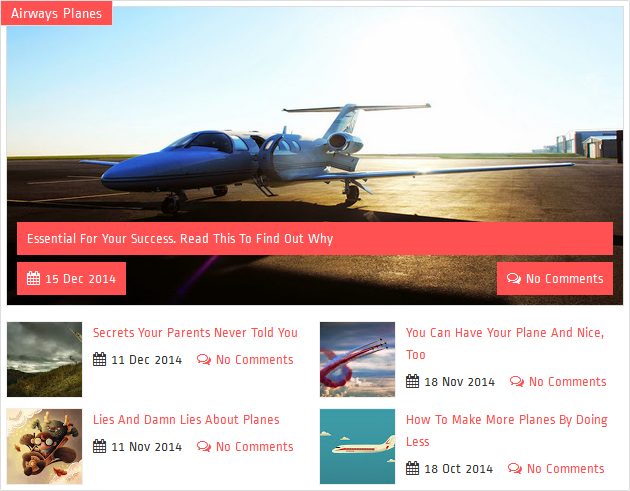
6. Large Posts Widget
Click Add a Gadget and choose HTML/JavaScript widget
Copy the following code and Paste it inside the gadget
<script class="java" type="text/javascript">
var widgetclass = "largthumbs";
var numposts = 4;
var thumbsize = "s280";
var iconname = "pagelines";
var numchars = 200;
</script>
<script class="java" type="text/javascript" src="/feeds/posts/default/-/label_name?alt=json-in-script&callback=carouselposts"></script>
| Option | Feature | Editing |
widgetclass = "largthumbs" | Type of labeld posts style | Don't Edit |
numposts = 4 | Number of posts shown. You can change the number 4 to your desired number | Can Edit |
thumbsize = "s280" | Thumbnail images size depending on Blogger hosting features | Don't Edit |
iconname = "pagelines" | Name of FontAwesome icon pagelines. You can change it with any other icon name. Here is the full set of FontAwesome 4.3.0http://fortawesome.github.io/Font-Awesome/icons/ | Can Edit |
numchars = 200 | Number of characters shown in post description. You can change the number 200 to your desired number | Can Edit |
label_name | Change it with your desired label name | Can Edit |
Click Save
7. Template Designer
You can change your template full background, full template colour style, other colours, other backgrounds or fonts so Easily with few simple highly explained clicks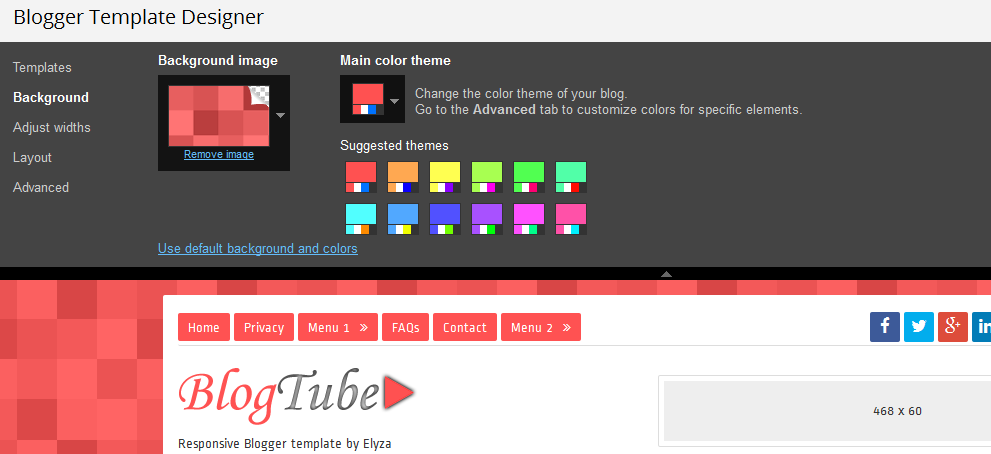

Posts & Pages Style
The default layout is 2 columns. Main left column and right sidebar1. To create post or page with left sidebar and right main column. In your post or page click HTML then copy the following code and paste it at the end of your post
<style type="text/css">
#mainbar{float:right;}
#sidebar{float:left;}
</style>
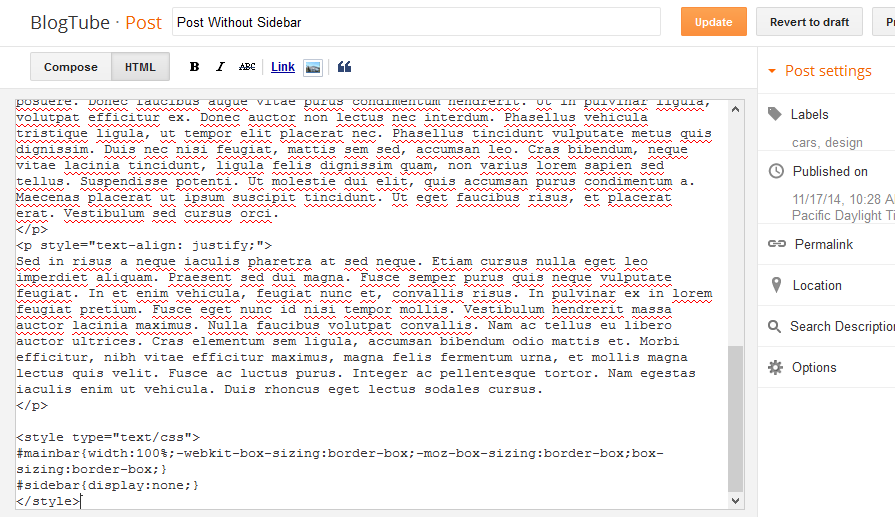
2. To creat post or page only one full main column without sidebar. In your post or page click HTML then copy the following code and paste it at the end of your post
<style type="text/css">
#mainbar{width:100%;-webkit-box-sizing:border-box;-moz-box-sizing:border-box;box-sizing:border-box;}
#sidebar{display:none;}
</style>
3. Typography Content
<h1>h1 Typography Title</h1>
<h2>h2 Typography Title</h2>
<h3>h3 Typography Title</h3>
<h4>h4 Typography Title</h4>
<h5>h5 Typography Title</h5>
<h6>h6 Typography Title</h6>

<hr/>

<h4>Font Size</h4>
<span style="font-size: xx-small;">Font Size [font-size: xx-small;]</span><br />
<span style="font-size: x-small;">Font Size [font-size: x-small;]</span><br />
<span style="font-size: small;">Font Size [font-size: small;]</span><br />
<span>Font Size Normal</span><br />
<span style="font-size: large;">Font Size [font-size: large;]</span><br />
<span style="font-size: x-large;">Font Size [font-size: x-large;]</span>

<hr/>

<h4>Unordered List</h4>
<ul>
<li>Etiam nec tincidunt arcu</li>
<li>vitae gravida nisi convallis</li>
<li>Proin suscipit erat</li>
<li>Titin cidunt vitae ex</li>
<li>Praesent eget ante rhoncus</li>
</ul>

<hr/>

<h4>Ordered List</h4>
<ol>
<li>Titin cidunt vitae ex</li>
<li>Praesent eget ante rhoncus</li>
<li>vitae gravida nisi convallis</li>
<li>Etiam nec tincidunt arcu</li>
<li>Proin suscipit erat</li>
</ol>

<hr/>

<h4>Block Quote</h4>
<blockquote>Pellentesque sed imperdiet massa. Morbi eu neque sed nisi volutpat varius. Class aptent taciti sociosqu ad litora torquent per conubia nostra, per inceptos himenaeos. Sed non arcu non velit dapibus vehicula. Proin varius sollicitudin iaculis. Pellentesque feugiat sed augue quis condimentum.</blockquote>
Once again, As I said at the beginning, I'd be glad to help you if you have any questions relating to this theme. No guarantees, but I'll do my best to assist. If you have a more general question relating to the themes contact us.